
Creating a Baby Moses Prop: A Fun Classroom Activity
One of the most beloved Bible stories is that of baby Moses, floating in a basket along the Nile River while his big sister keeps a watchful eye from the bullrushes. This story is rich with lessons and visuals, making it perfect for creative teaching!
Crafting the Basket
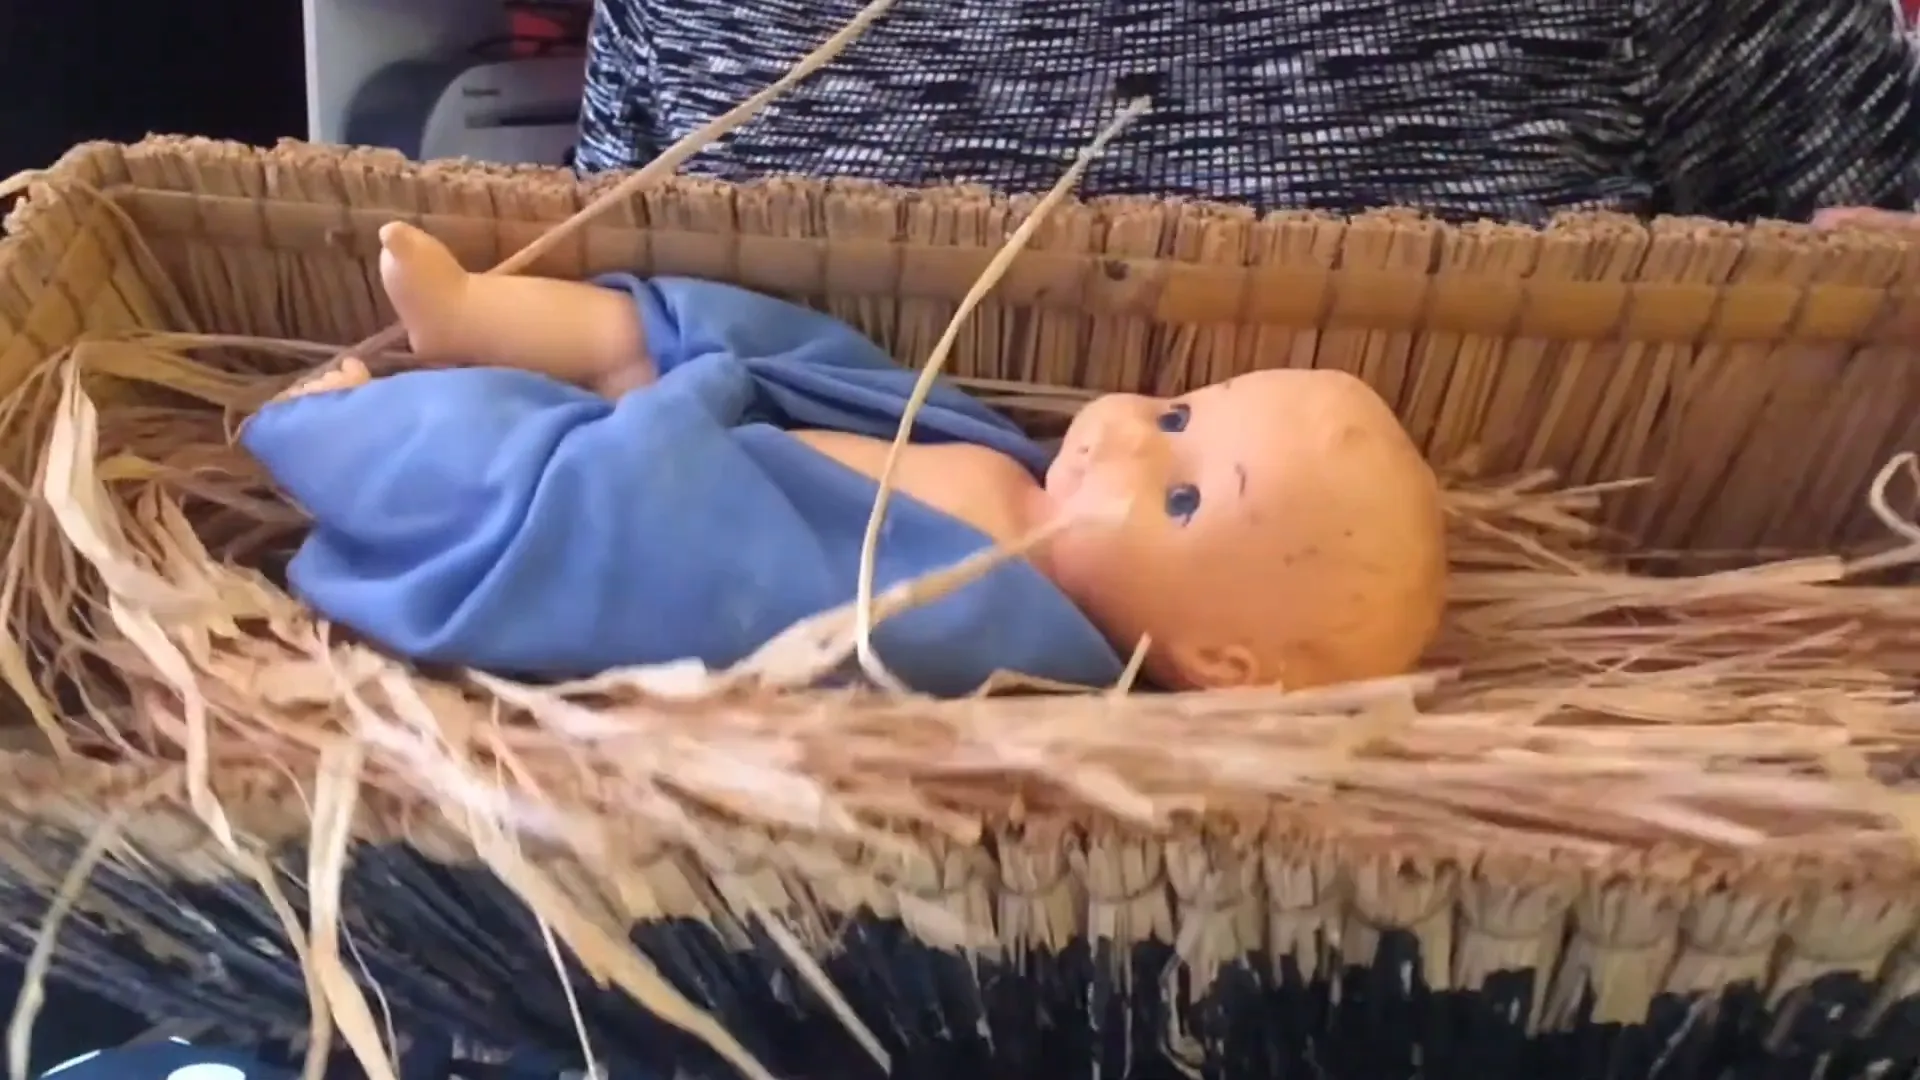
To recreate Moses’ ark of safety, you'll want to start with a natural fiber basket. I found the perfect one at a yard sale! It’s made of woven materials and closely resembles what might have been used in ancient times.

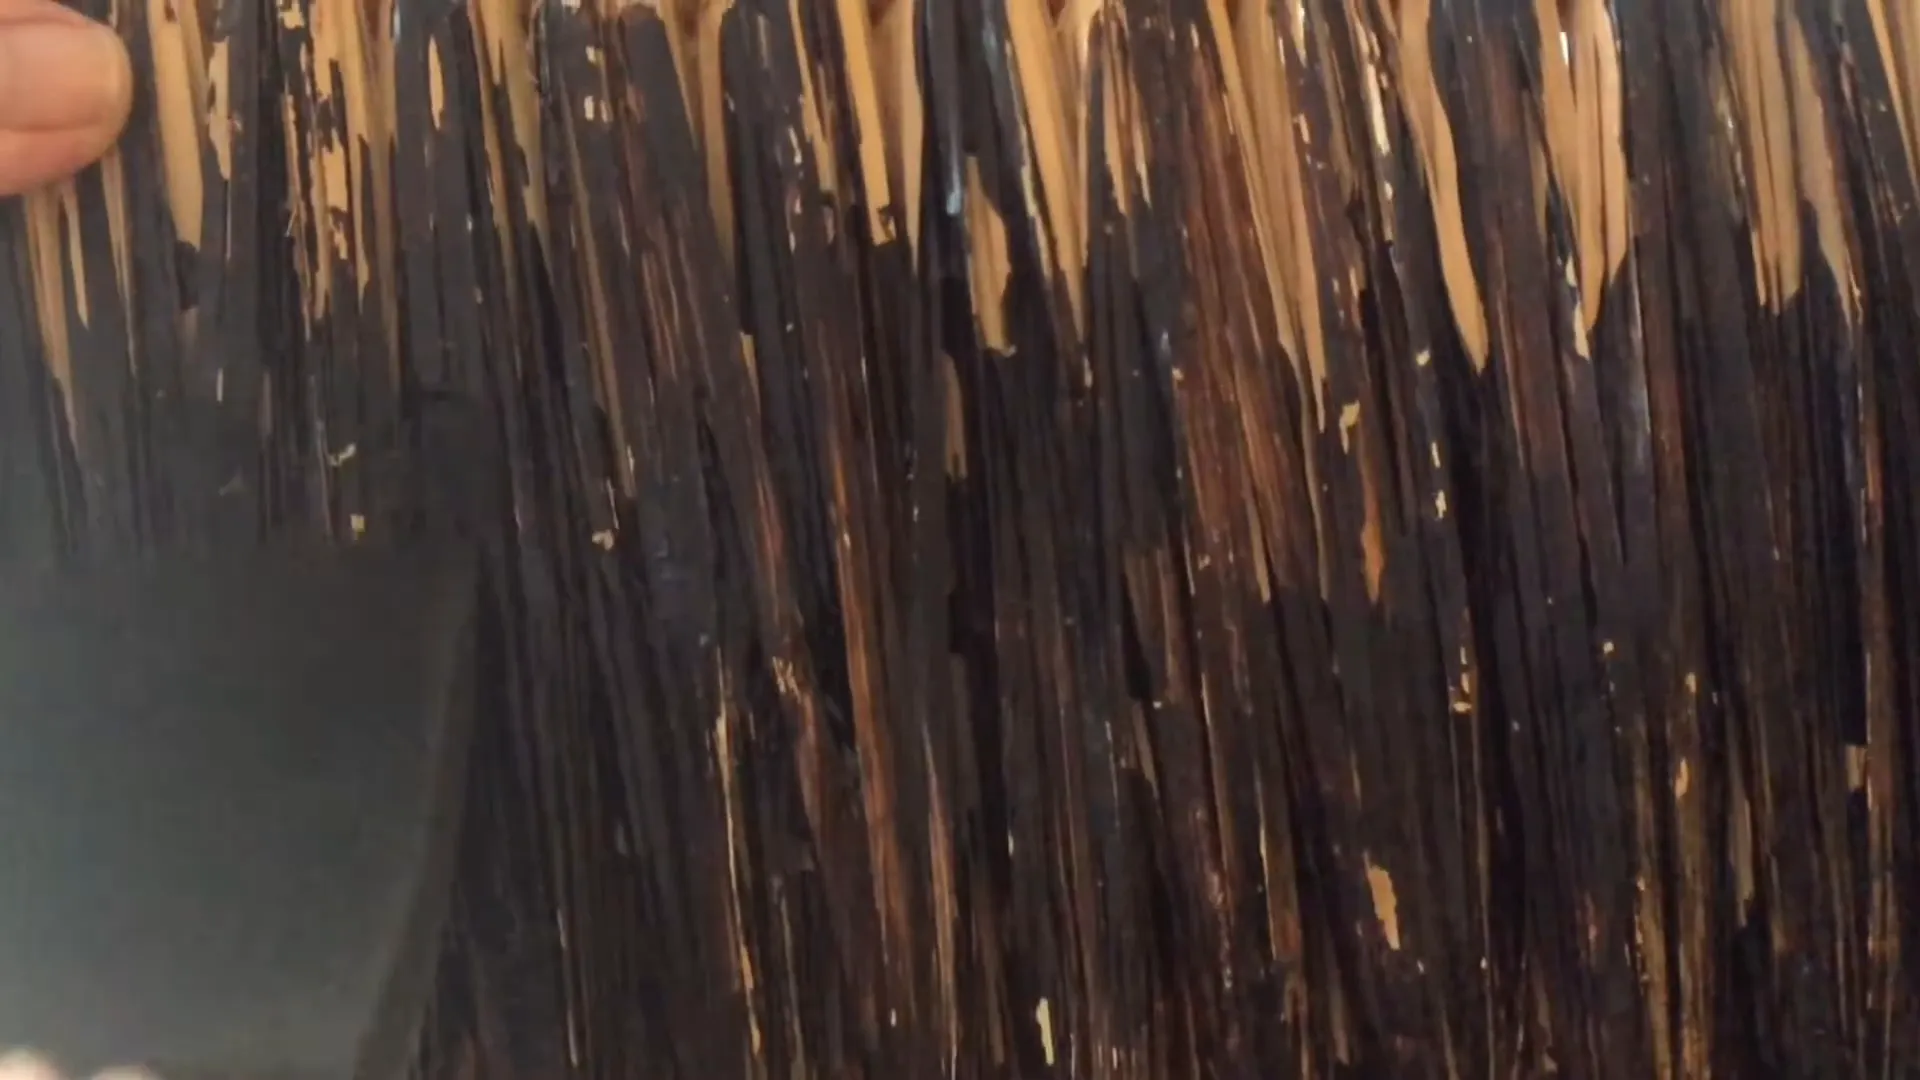
To enhance its authenticity, consider painting the sides black. This represents the pitch and tar that would have been used to make the basket waterproof, just as mentioned in Exodus 2:3.
Adding the Baby
Next, you can add a doll or any small figure to represent baby Moses. This little touch brings the whole scene to life and makes it more engaging for students.
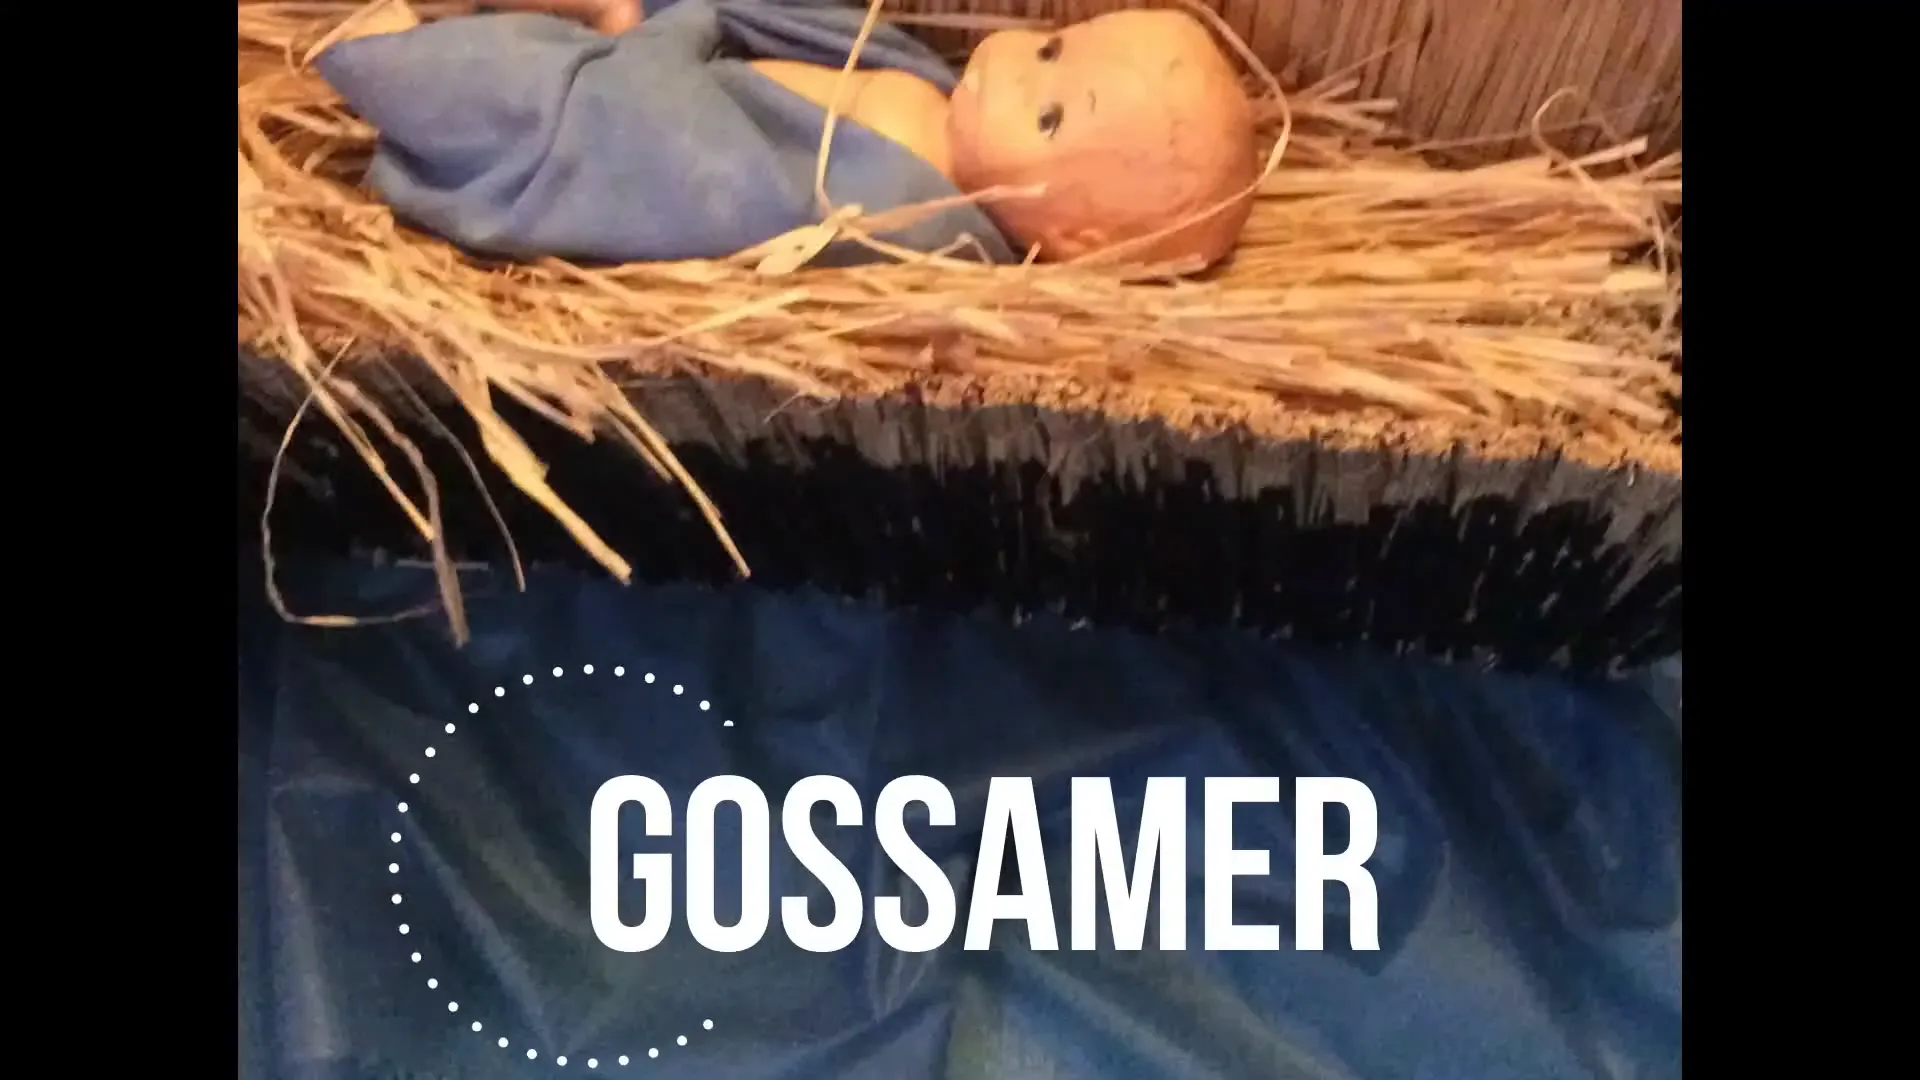
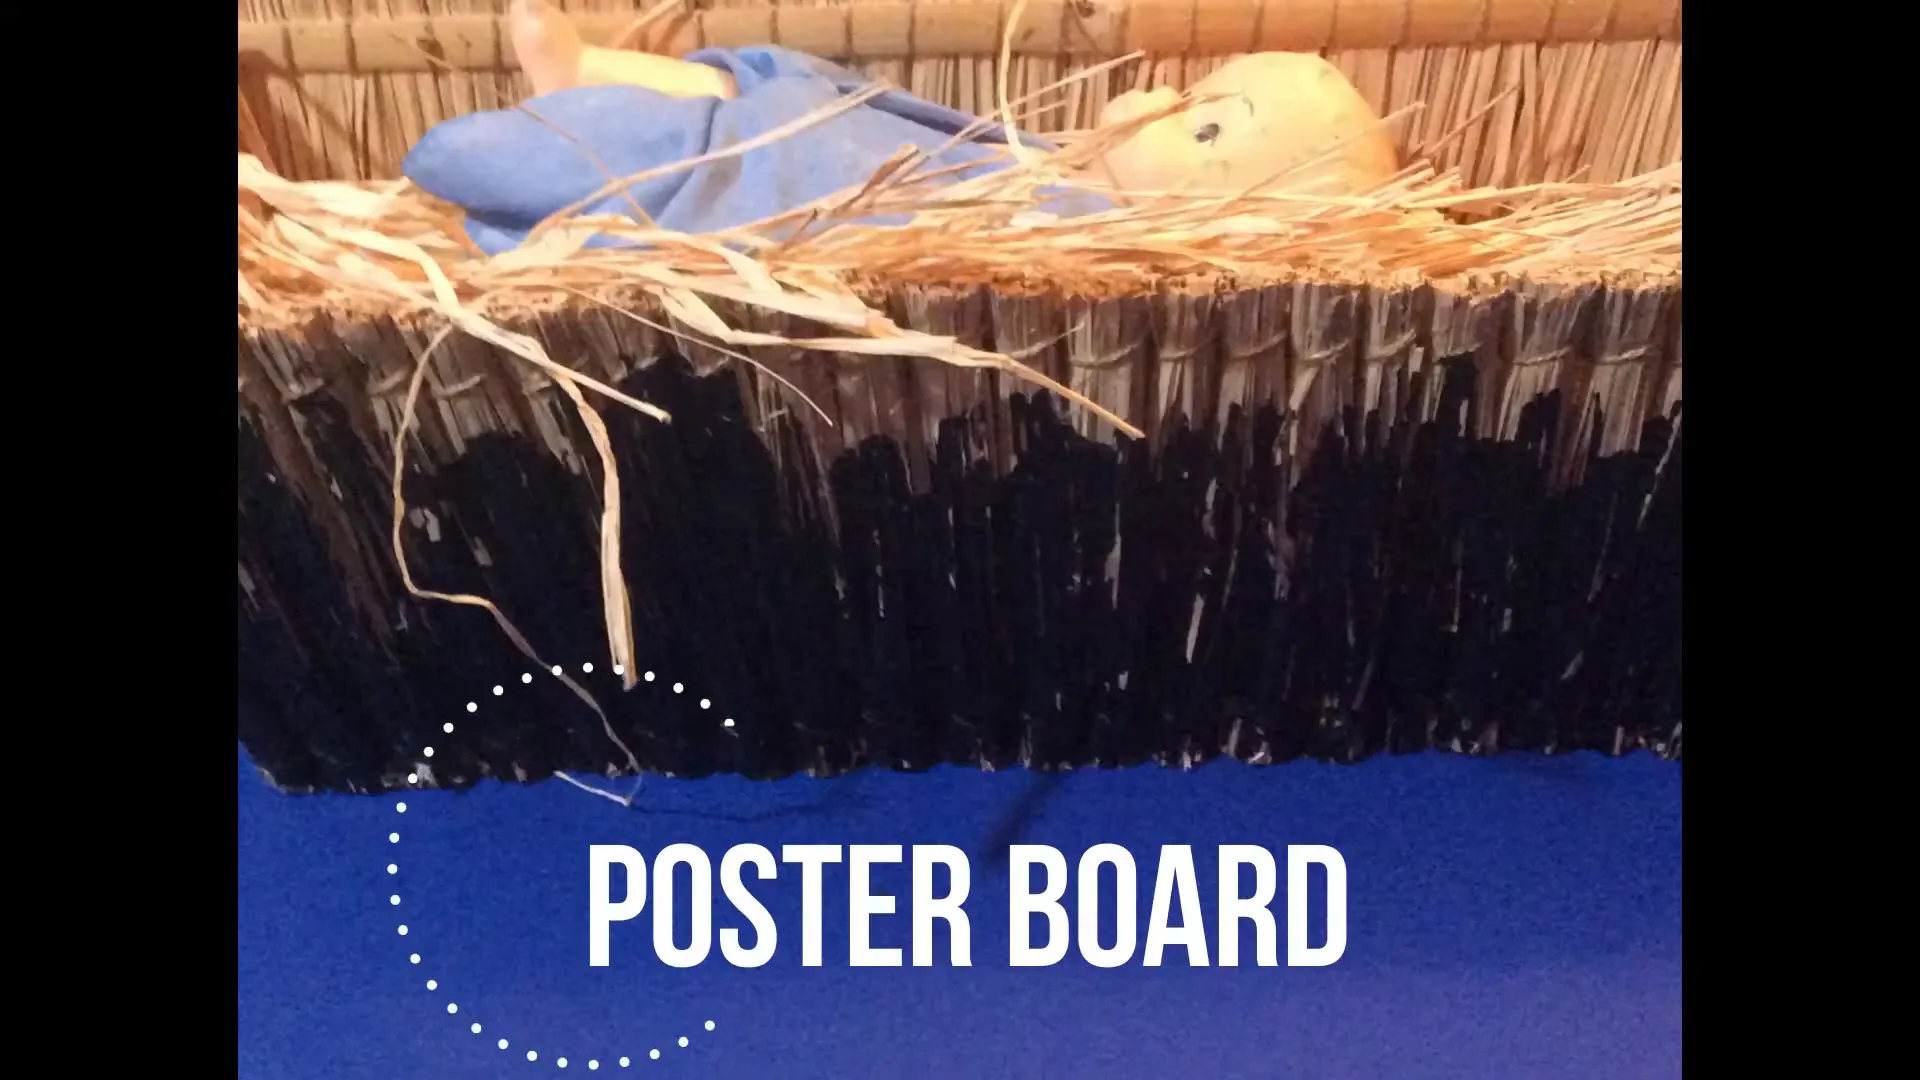
Creating the Nile River
Now, let's talk about where Moses' basket will float! A blue gossamer poster board or some fabric can create a beautiful river scene in your classroom. This not only adds visual appeal but also helps students immerse themselves in the story.
Why Props Matter
This is Becky from Experience the Bible Creatively, reminding you that props are always better than paper! Engaging your students with tactile, visual aids can make a significant difference in how they connect with the story.
So gather your materials and get ready to bring the story of baby Moses to life in your classroom! Your students will love the hands-on experience, and it will help them remember the story long after they leave the classroom.
Find curriculum to go with this craft!
Our "Walking Alingside Jesus" curriculum helps your students see Jesus through the Old Testament!
Shop Curriculum