
Teach the Seven Days of Creation Using an Aquarium
Have your students ever heard the story of the seven days of creation? Sure, they might know it by heart, but have they ever seen it brought to life in a fun and engaging way? That’s where using an aquarium comes in! This unique method will not only captivate your students but also allow them to participate in the demonstration. Let’s dive into how you can make this lesson memorable!
What You’ll Need
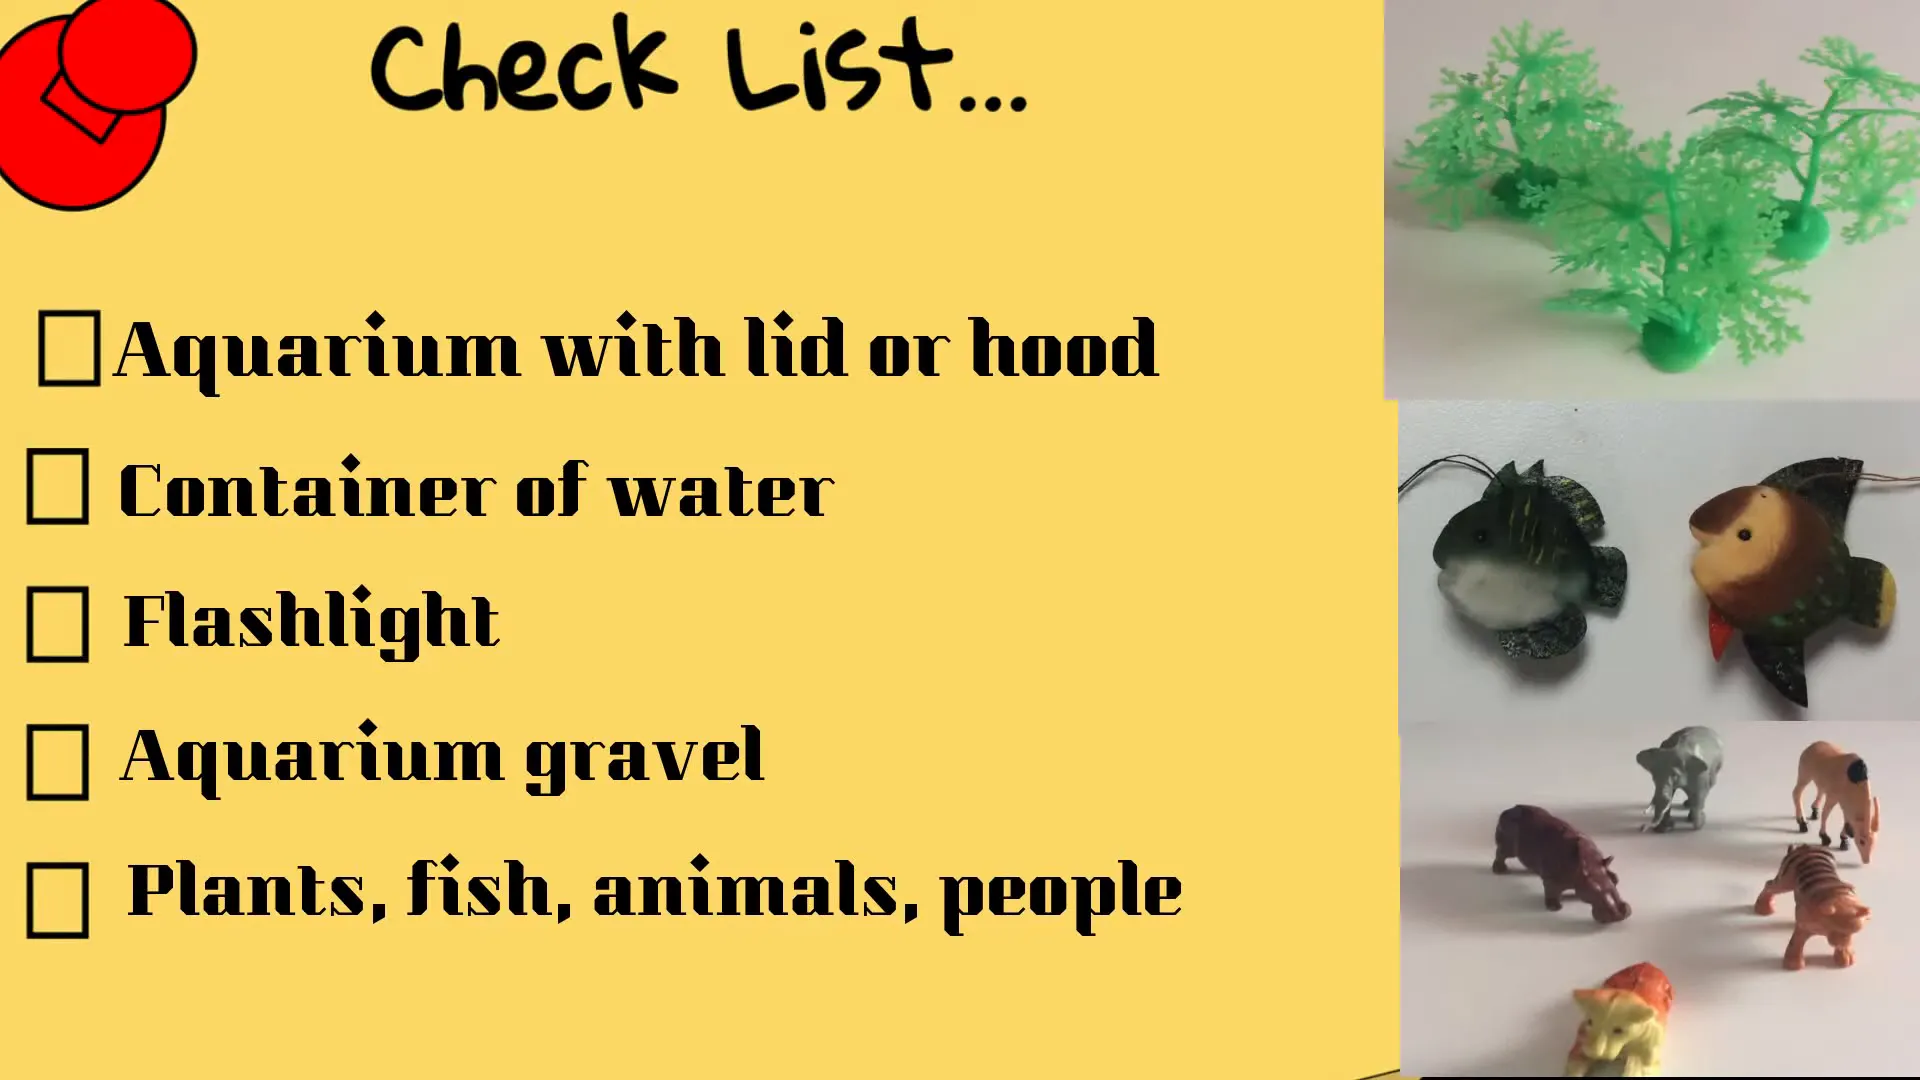
Before we get started, here’s a quick list of items you’ll need:
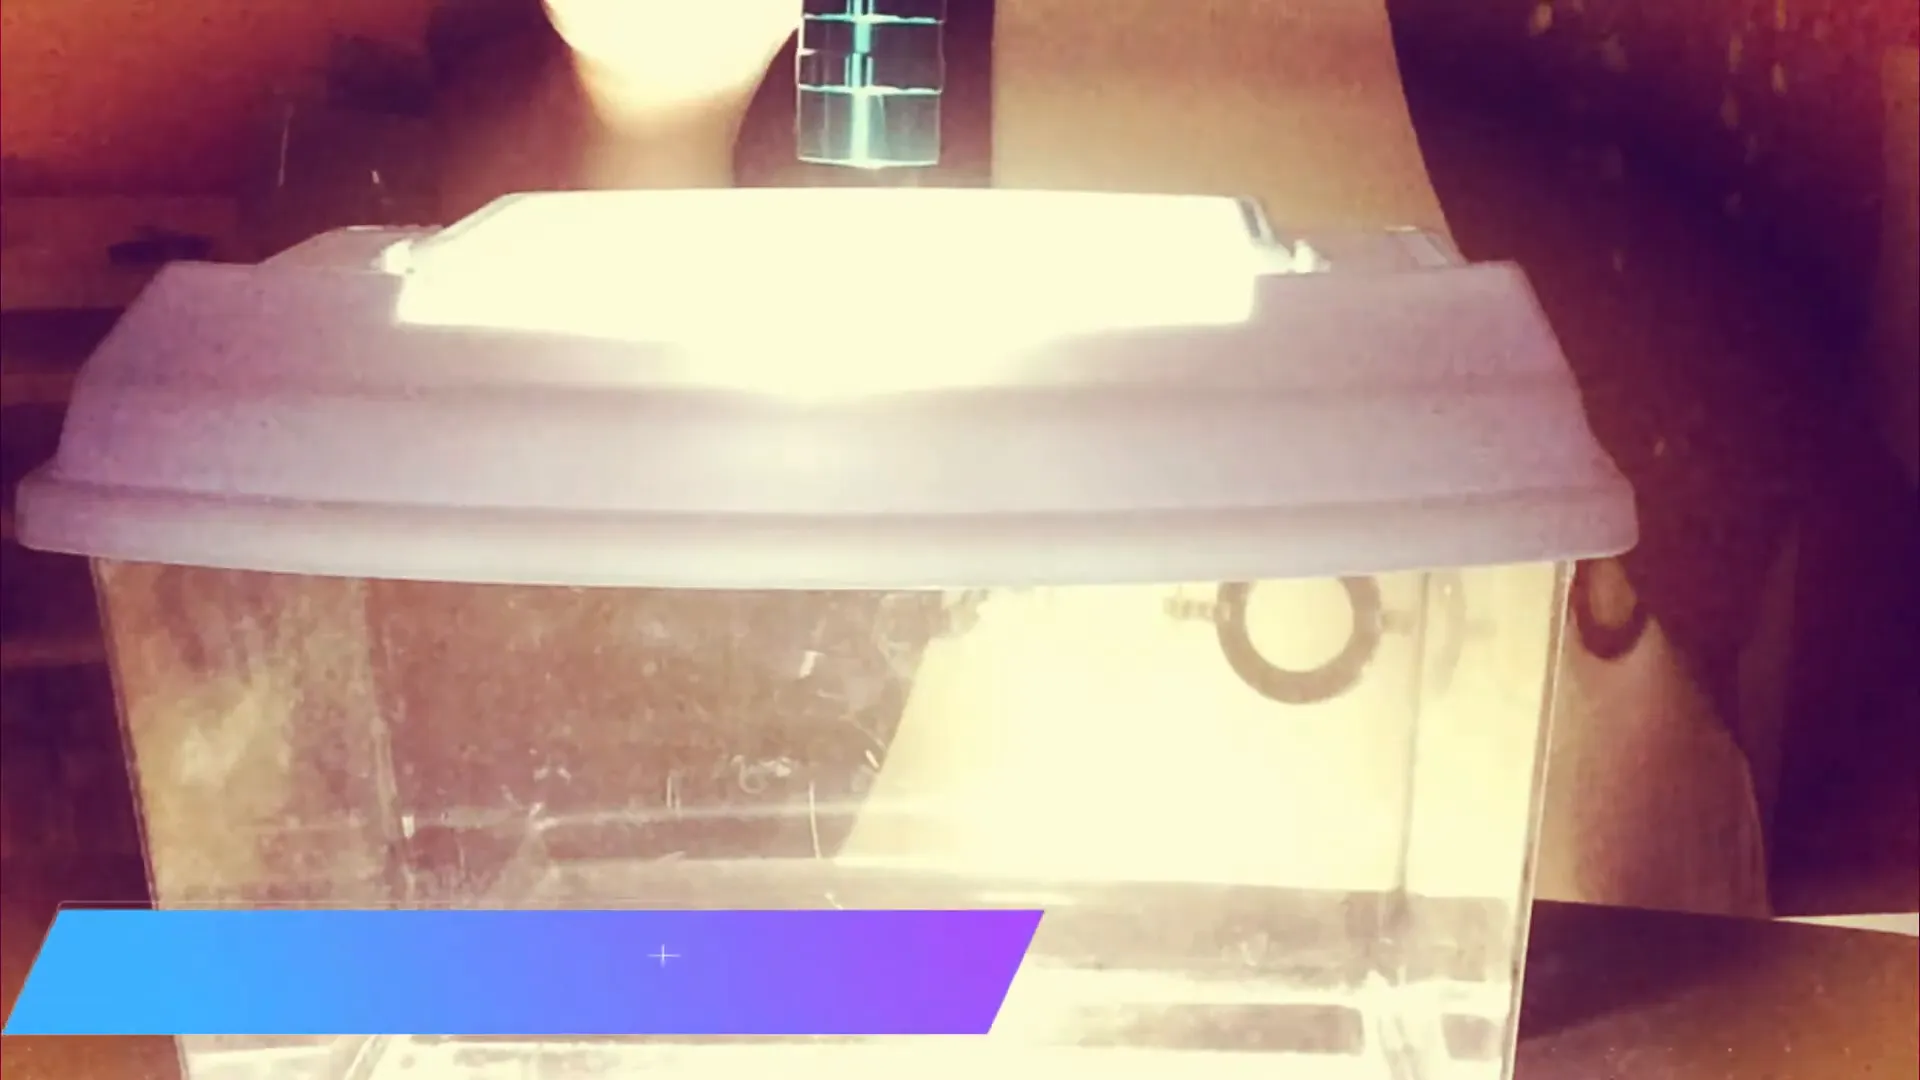
- A small empty aquarium with a hood or lid (to represent the earth)
- A container of water (amount depends on your aquarium size)
- A flashlight (to symbolize the light of day)
- Aquarium gravel (for the land)
- Plastic plants, fish, farm animals, and people (available at your local dollar store)
Setting the Scene
To kick off your lesson, turn off all the lights in the room. It doesn’t have to be pitch-black, just dark enough for your flashlight to shine brightly. This is day one when God said, “Let there be light!”
Days 1 to 3: The Separation
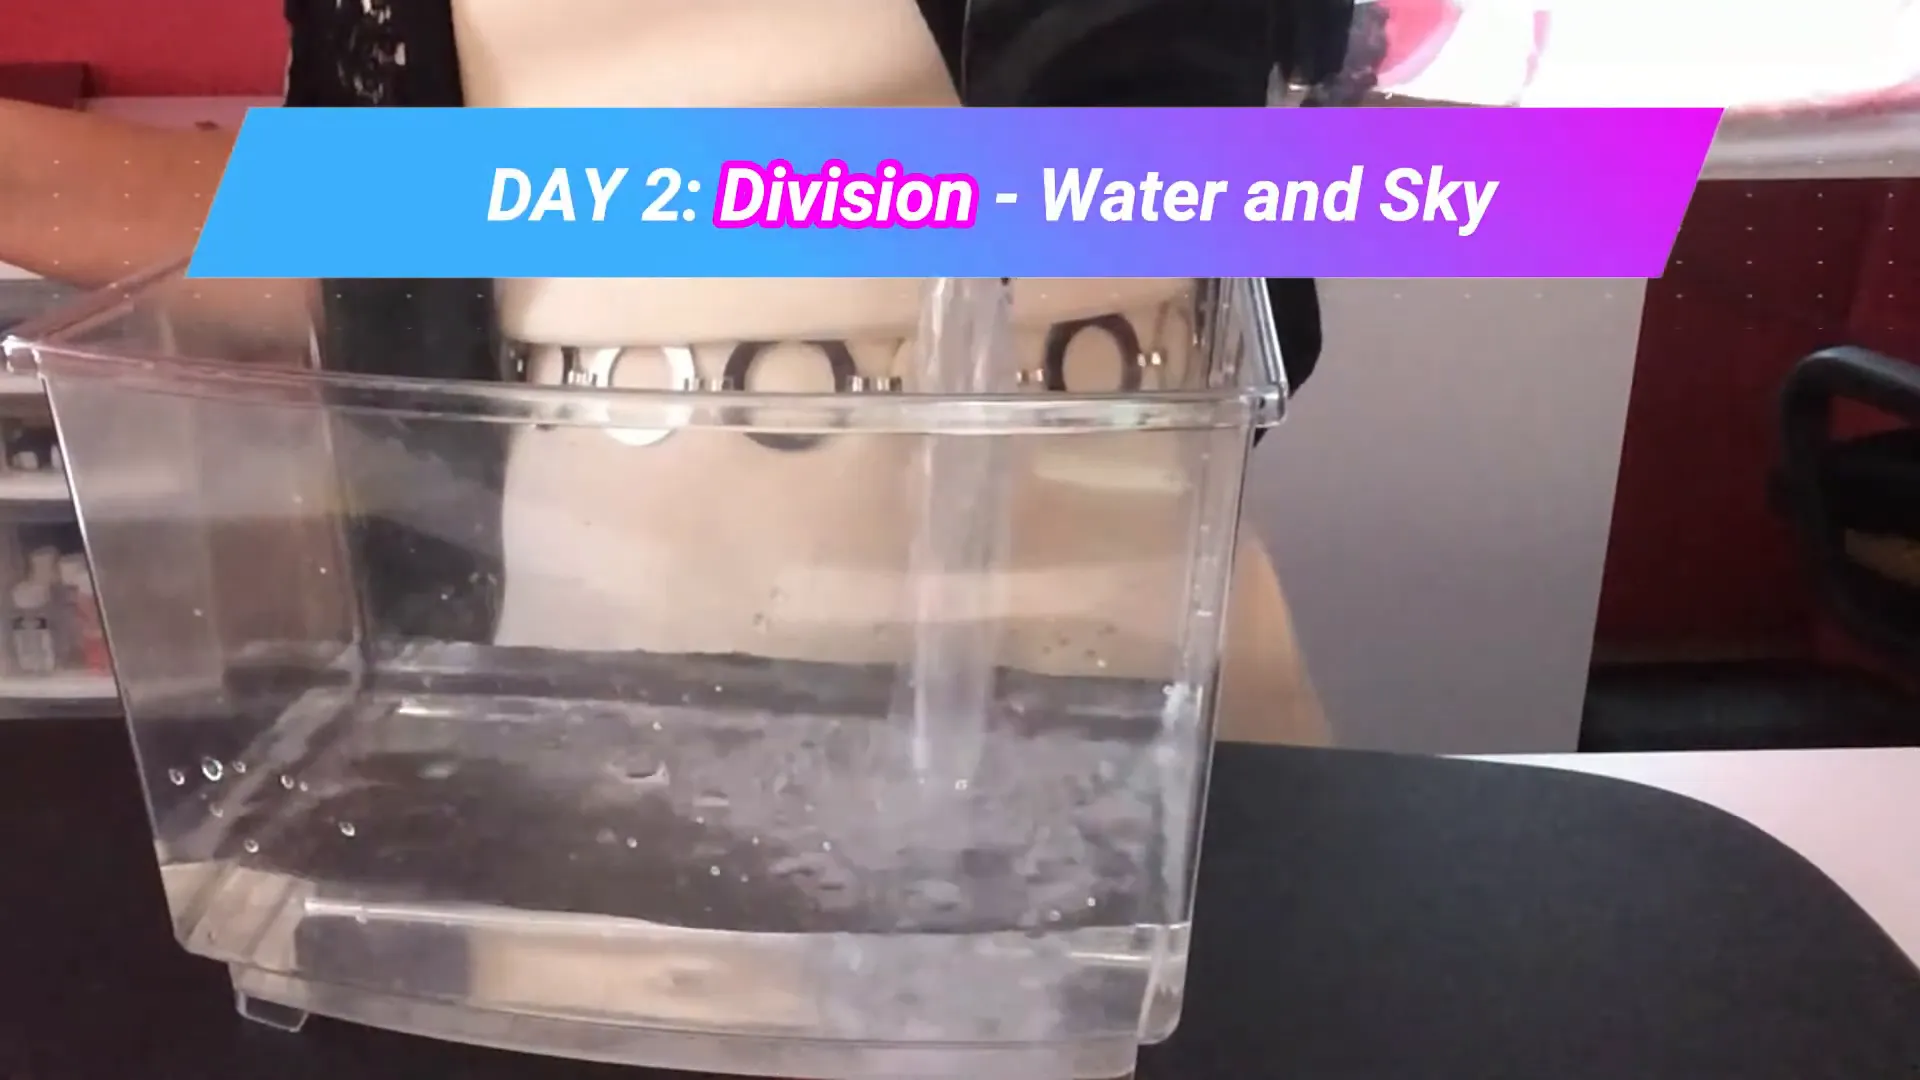
Now, let’s start filling the aquarium. Begin by filling it one-quarter full of water. This represents the division between water and sky on day two.
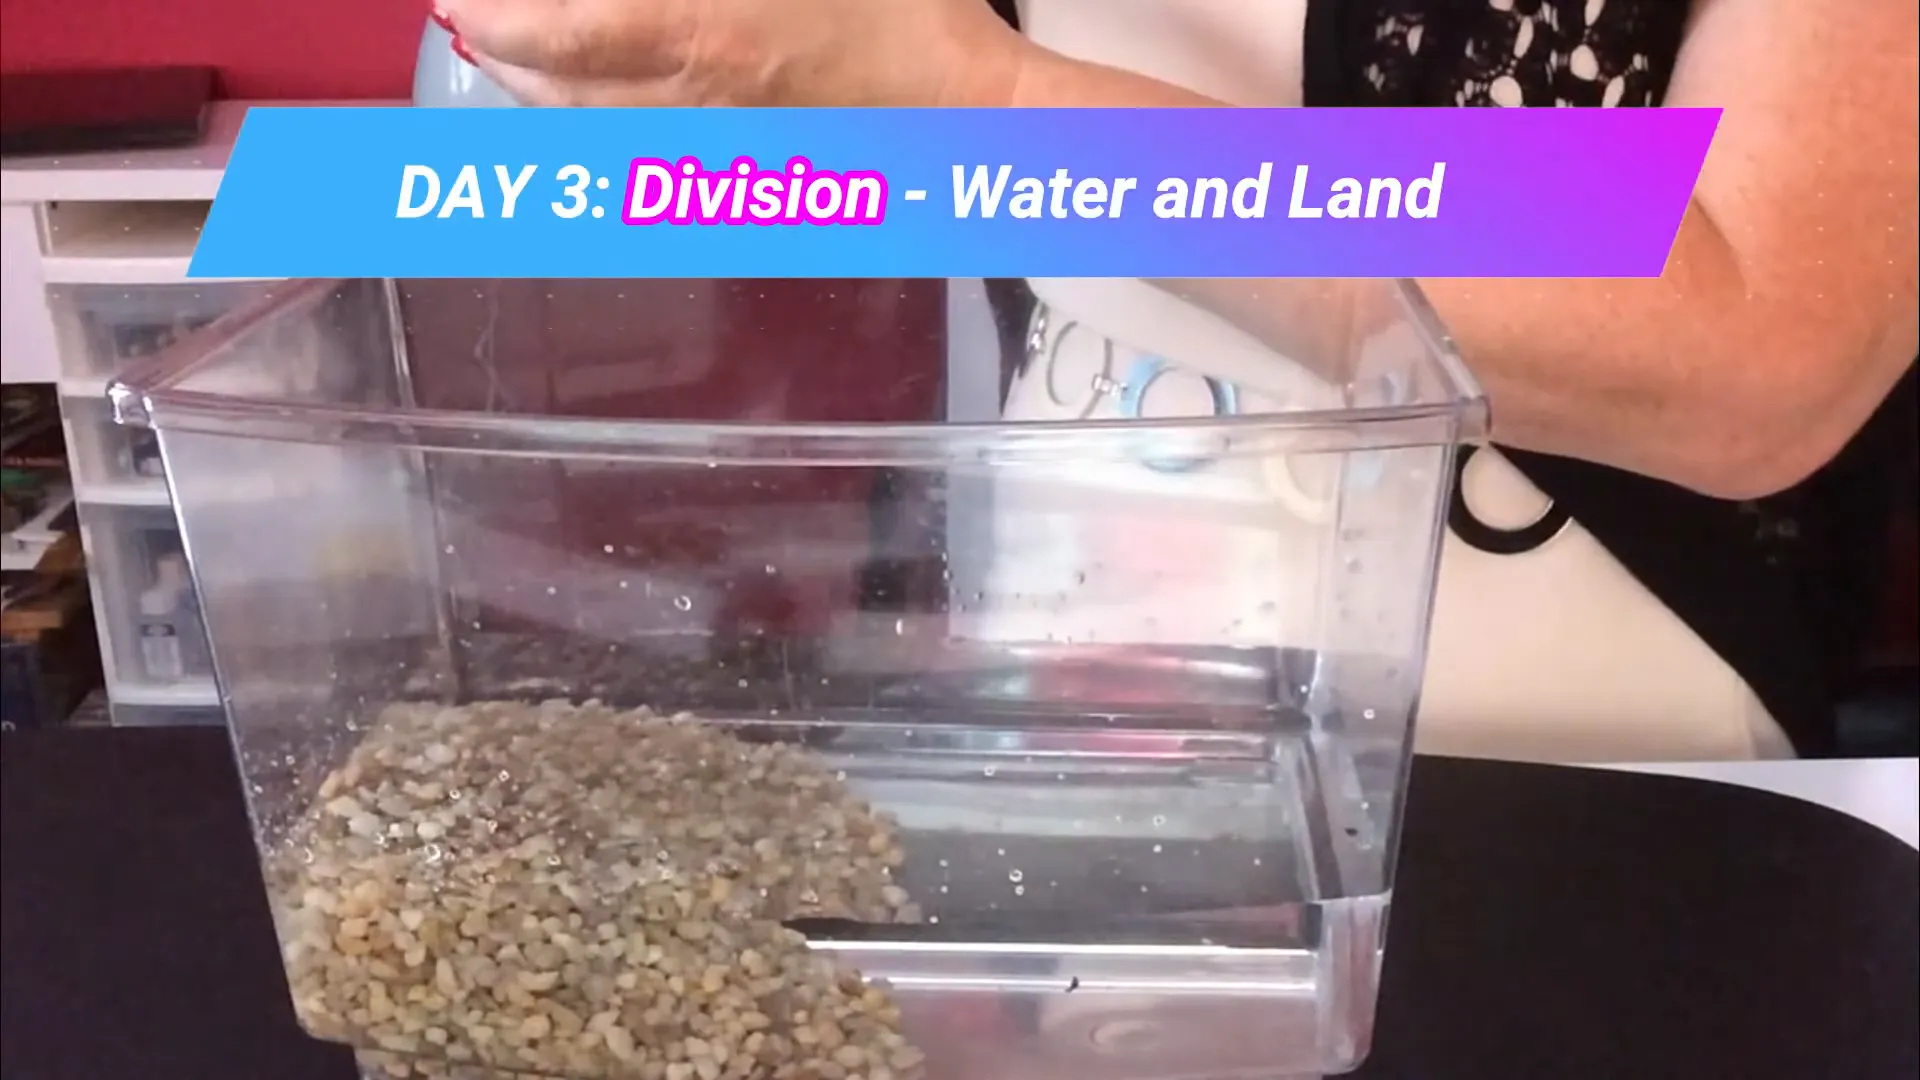
Next, pour in the gravel to create land and mountains, ensuring you leave some areas just for water. This is day three!
Days 4 to 6: Filling the Spaces
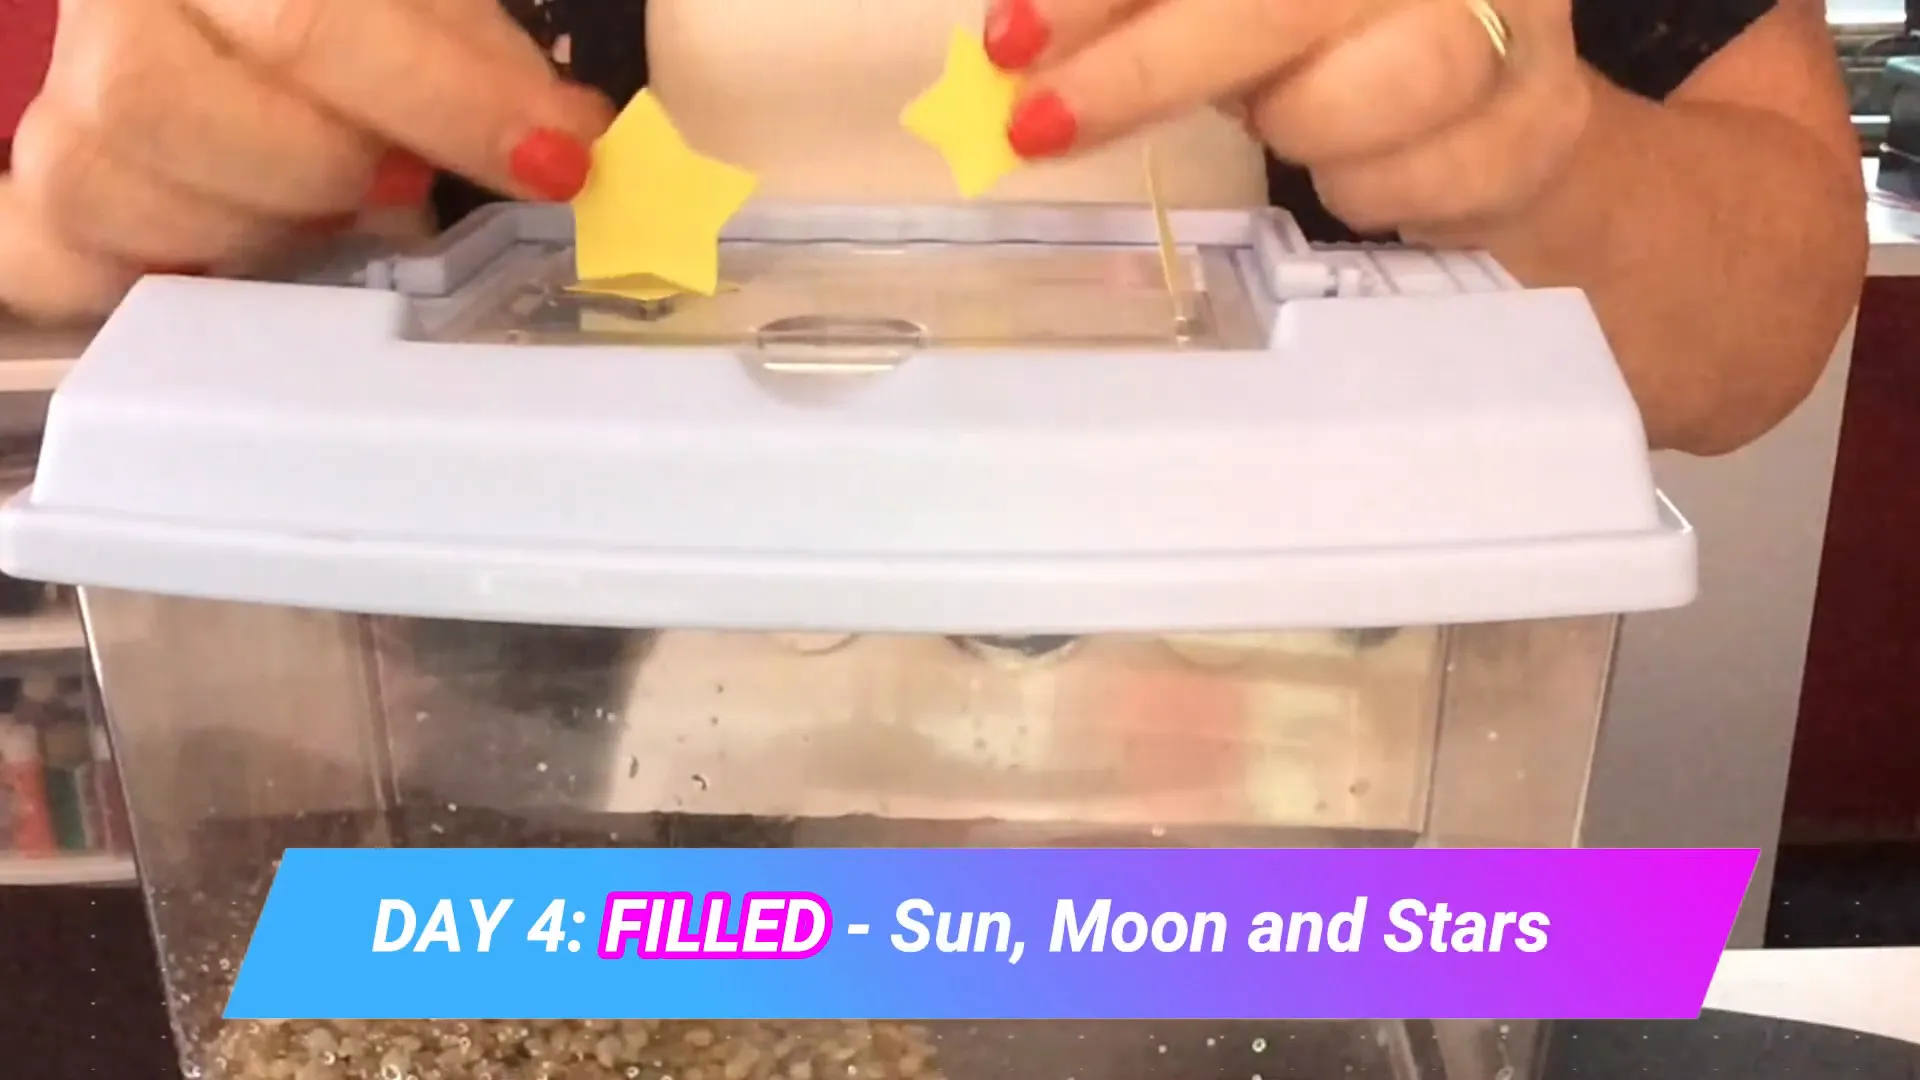
Place the lid or hood on your aquarium because on day four, God filled the sky with stars, the moon by night, and the sun by day. Sprinkle in some stars or planets if you have them, or even a picture of the sun would work great!
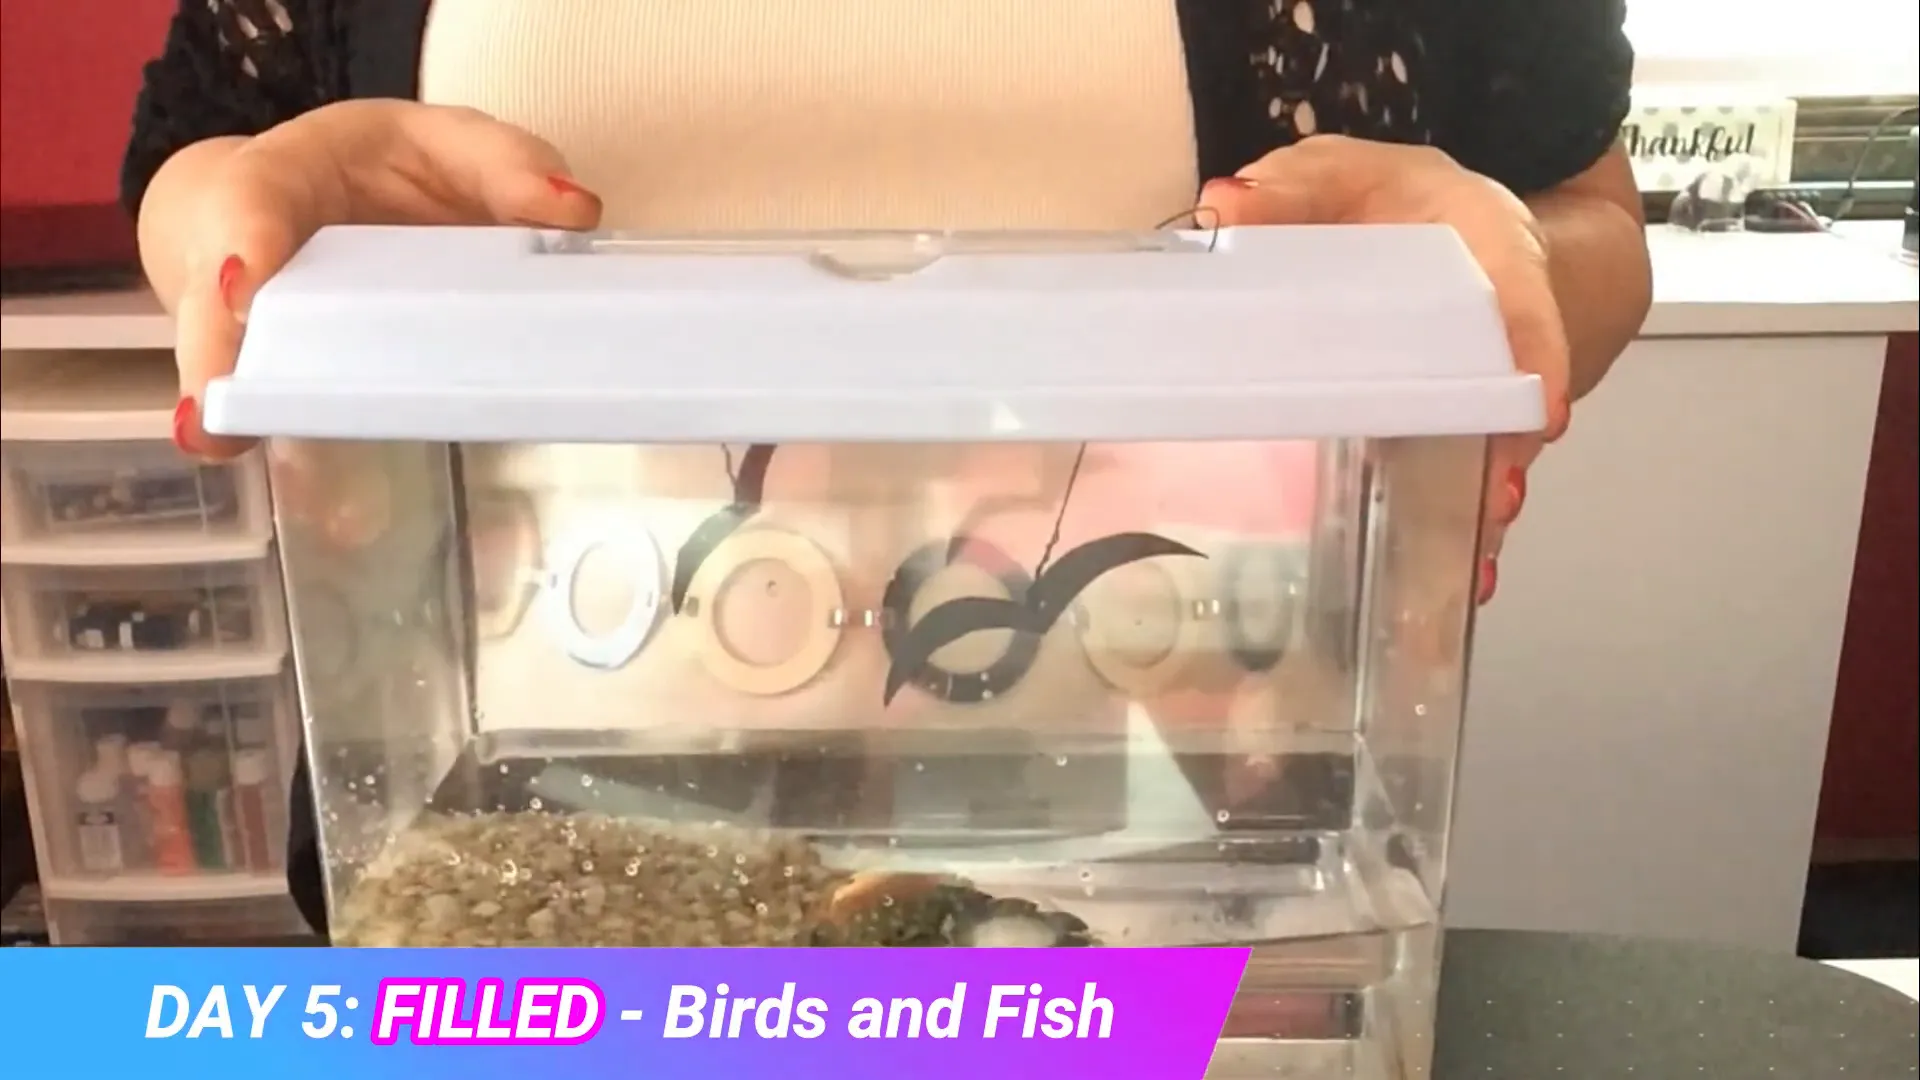
On day five, it’s time to add life! Add plastic or even real fish to the water, and hang your paper or plastic birds from the lid so they appear to be flying.
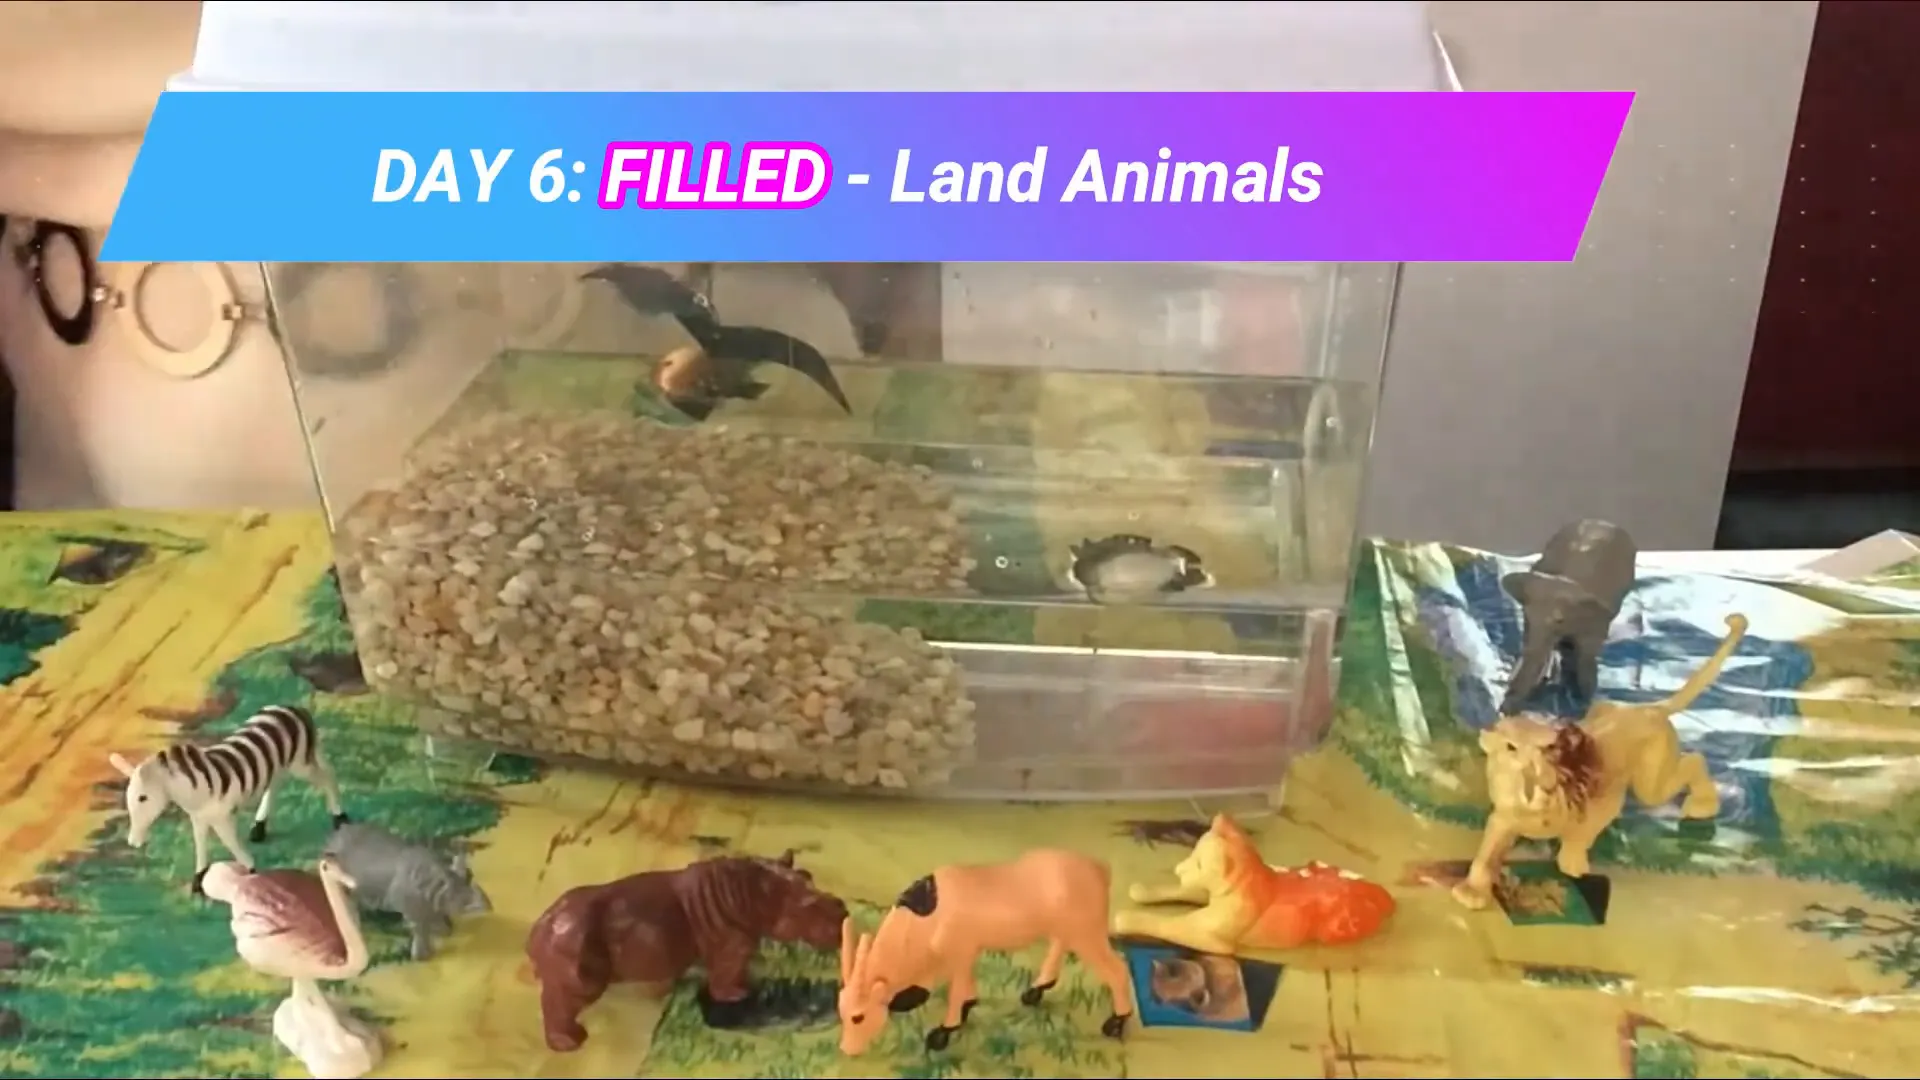
Use a plastic mat for the sixth day, where God filled the land with a variety of animals. Your students can help you surround the aquarium with these animals.
Understanding the Creation Process
Throughout this demonstration, you can highlight how God separated light from dark on day one, oceans from sky on day two, and oceans from land on day three. Then, on days four through six, He filled those same spaces in the same order. It’s a beautiful way to illustrate the creation story!
Bringing It All Together
As you present this lesson, I suggest reading Genesis 1 as you place the items in and around the aquarium. Once you finish, encourage your students to retell the creation story. This interactive approach not only reinforces their learning but also makes it fun!
This is Becky from Experience the Bible Creatively, reminding you that props are always better than paper. Happy teaching!
Find curriculum to go with this craft!
Our "Walking Alingside Jesus" curriculum helps your students see Jesus through the Old Testament!
Shop Curriculum